
Oh that sounds a bit dramatic doesn’t it? But not to worry, I’m not talking about freeing dragons, or bringing down patriarchy, although both do sound a lot of fun, today I’m talking about crochet chains!

You might be wondering if I’ve completely lost it by now, or indeed what on earth is wrong with a crochet chain? I mean, it’s the most basic crochet stitch there is, quite literally the foundation of every pattern. Or is it?
The crochet chain is one of those stitches that is simple and has a multitude of uses, but on our quest to create the most beautiful, thoughtful and usable objects, we need to understand more about crochet as a fabric to identify when a crochet chain is and is not appropriate.
Most beginners patters start with a chain. It is simple, functional and gets the job done. But it’s not the only way.
Fabric Types
When people talk about fabric most people think of woven fabrics like denim and jersey, but knitting and crochet create fabric too. Knitted fabric looks, drapes and feels a lot like a woven fabric as the strands are carried all the way along the row using the needles to weave them together.
In crochet, the fabric is built up of individual knots giving it a unique look and feel. I always think that where knitting is defined by the stitches, crochet is defined by the intricate holes.
Once a chain is made, there is a maximum width that this chain can achieve. This is brilliant for items that require strength such as bag straps, but if you are unfortunate enough to have the neck in a crochet jumper too tight, you will not get your head through, or the top of the sock doesn’t fit over a calf, or the square you’re working on turns into a rhombus. These things are a massive pain.
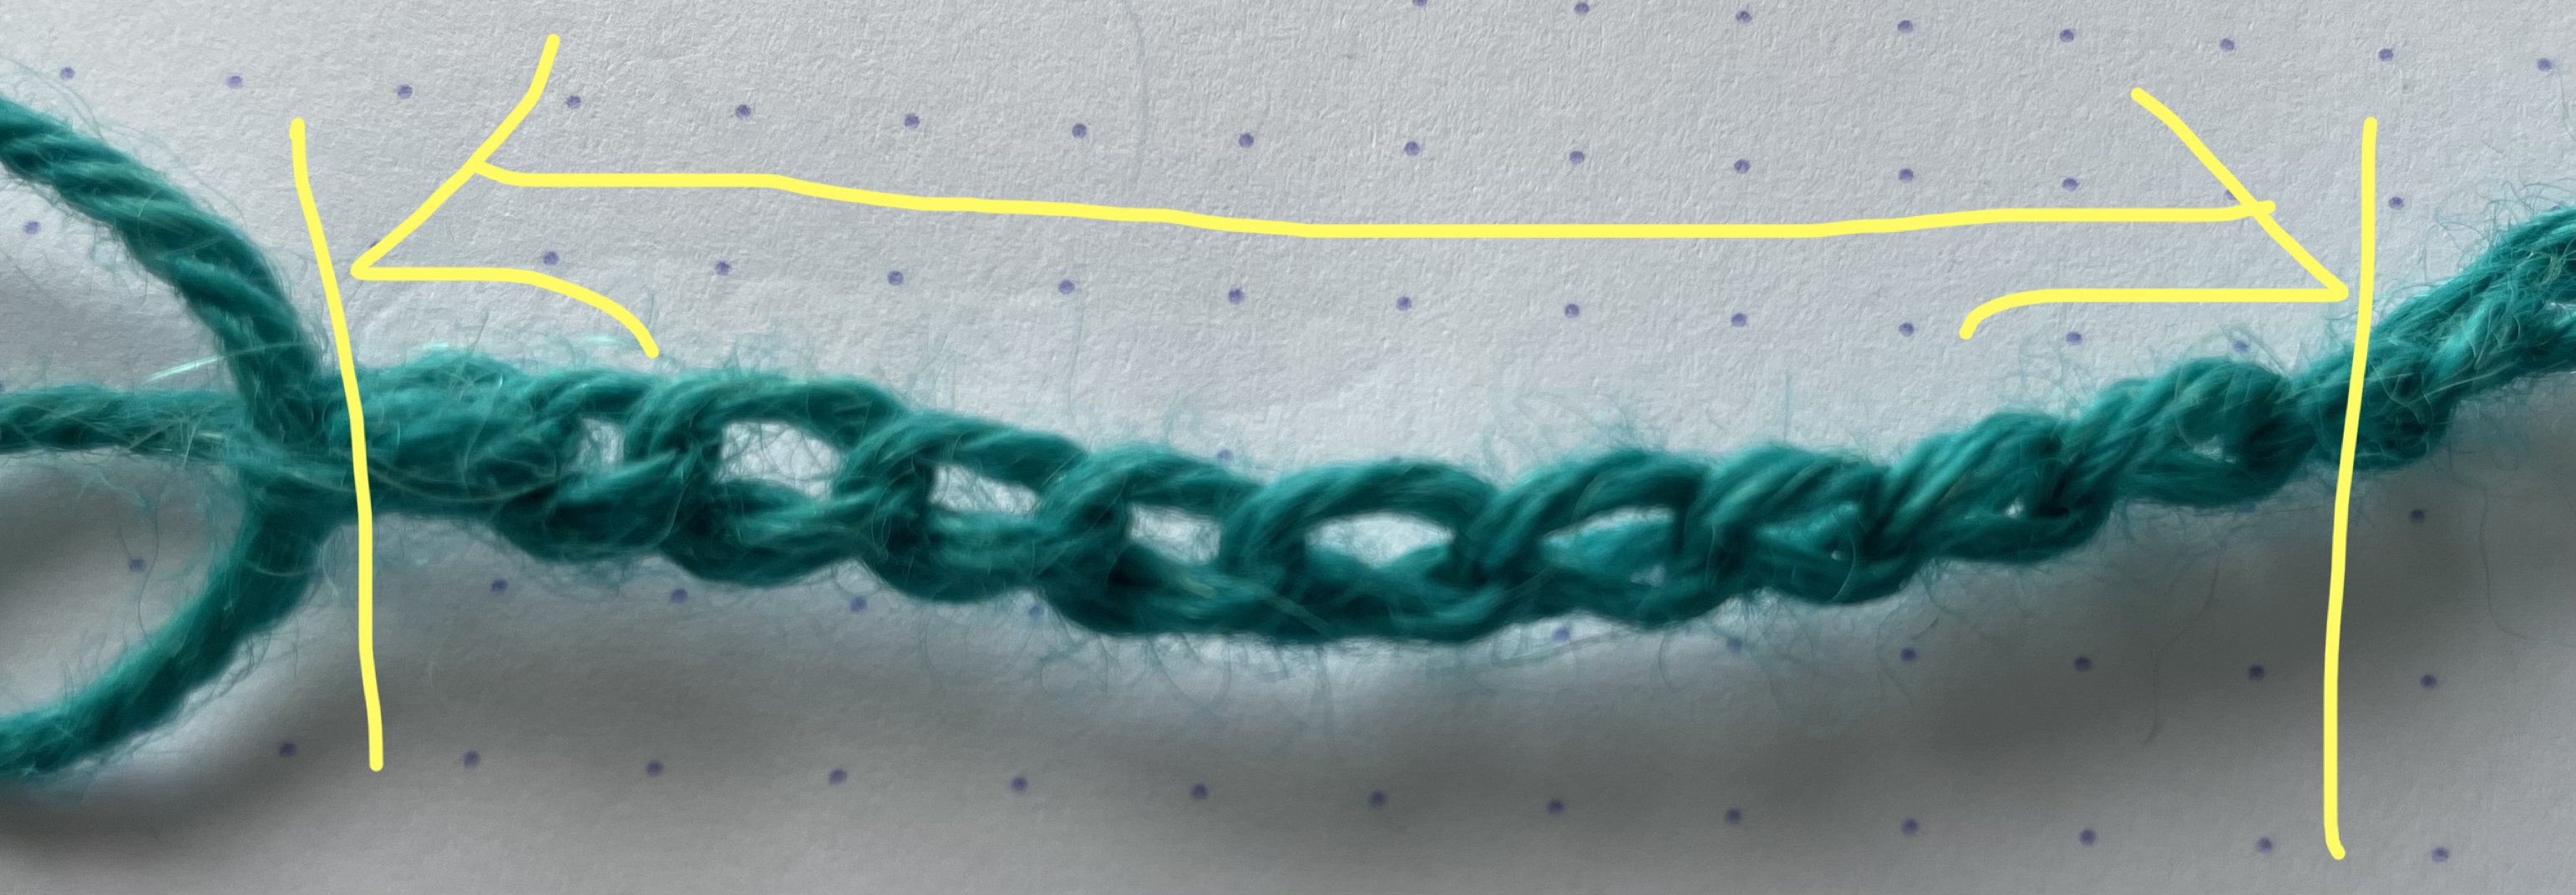
The chain is an inflexible stitch, no amount of blocking will sort this problem out.
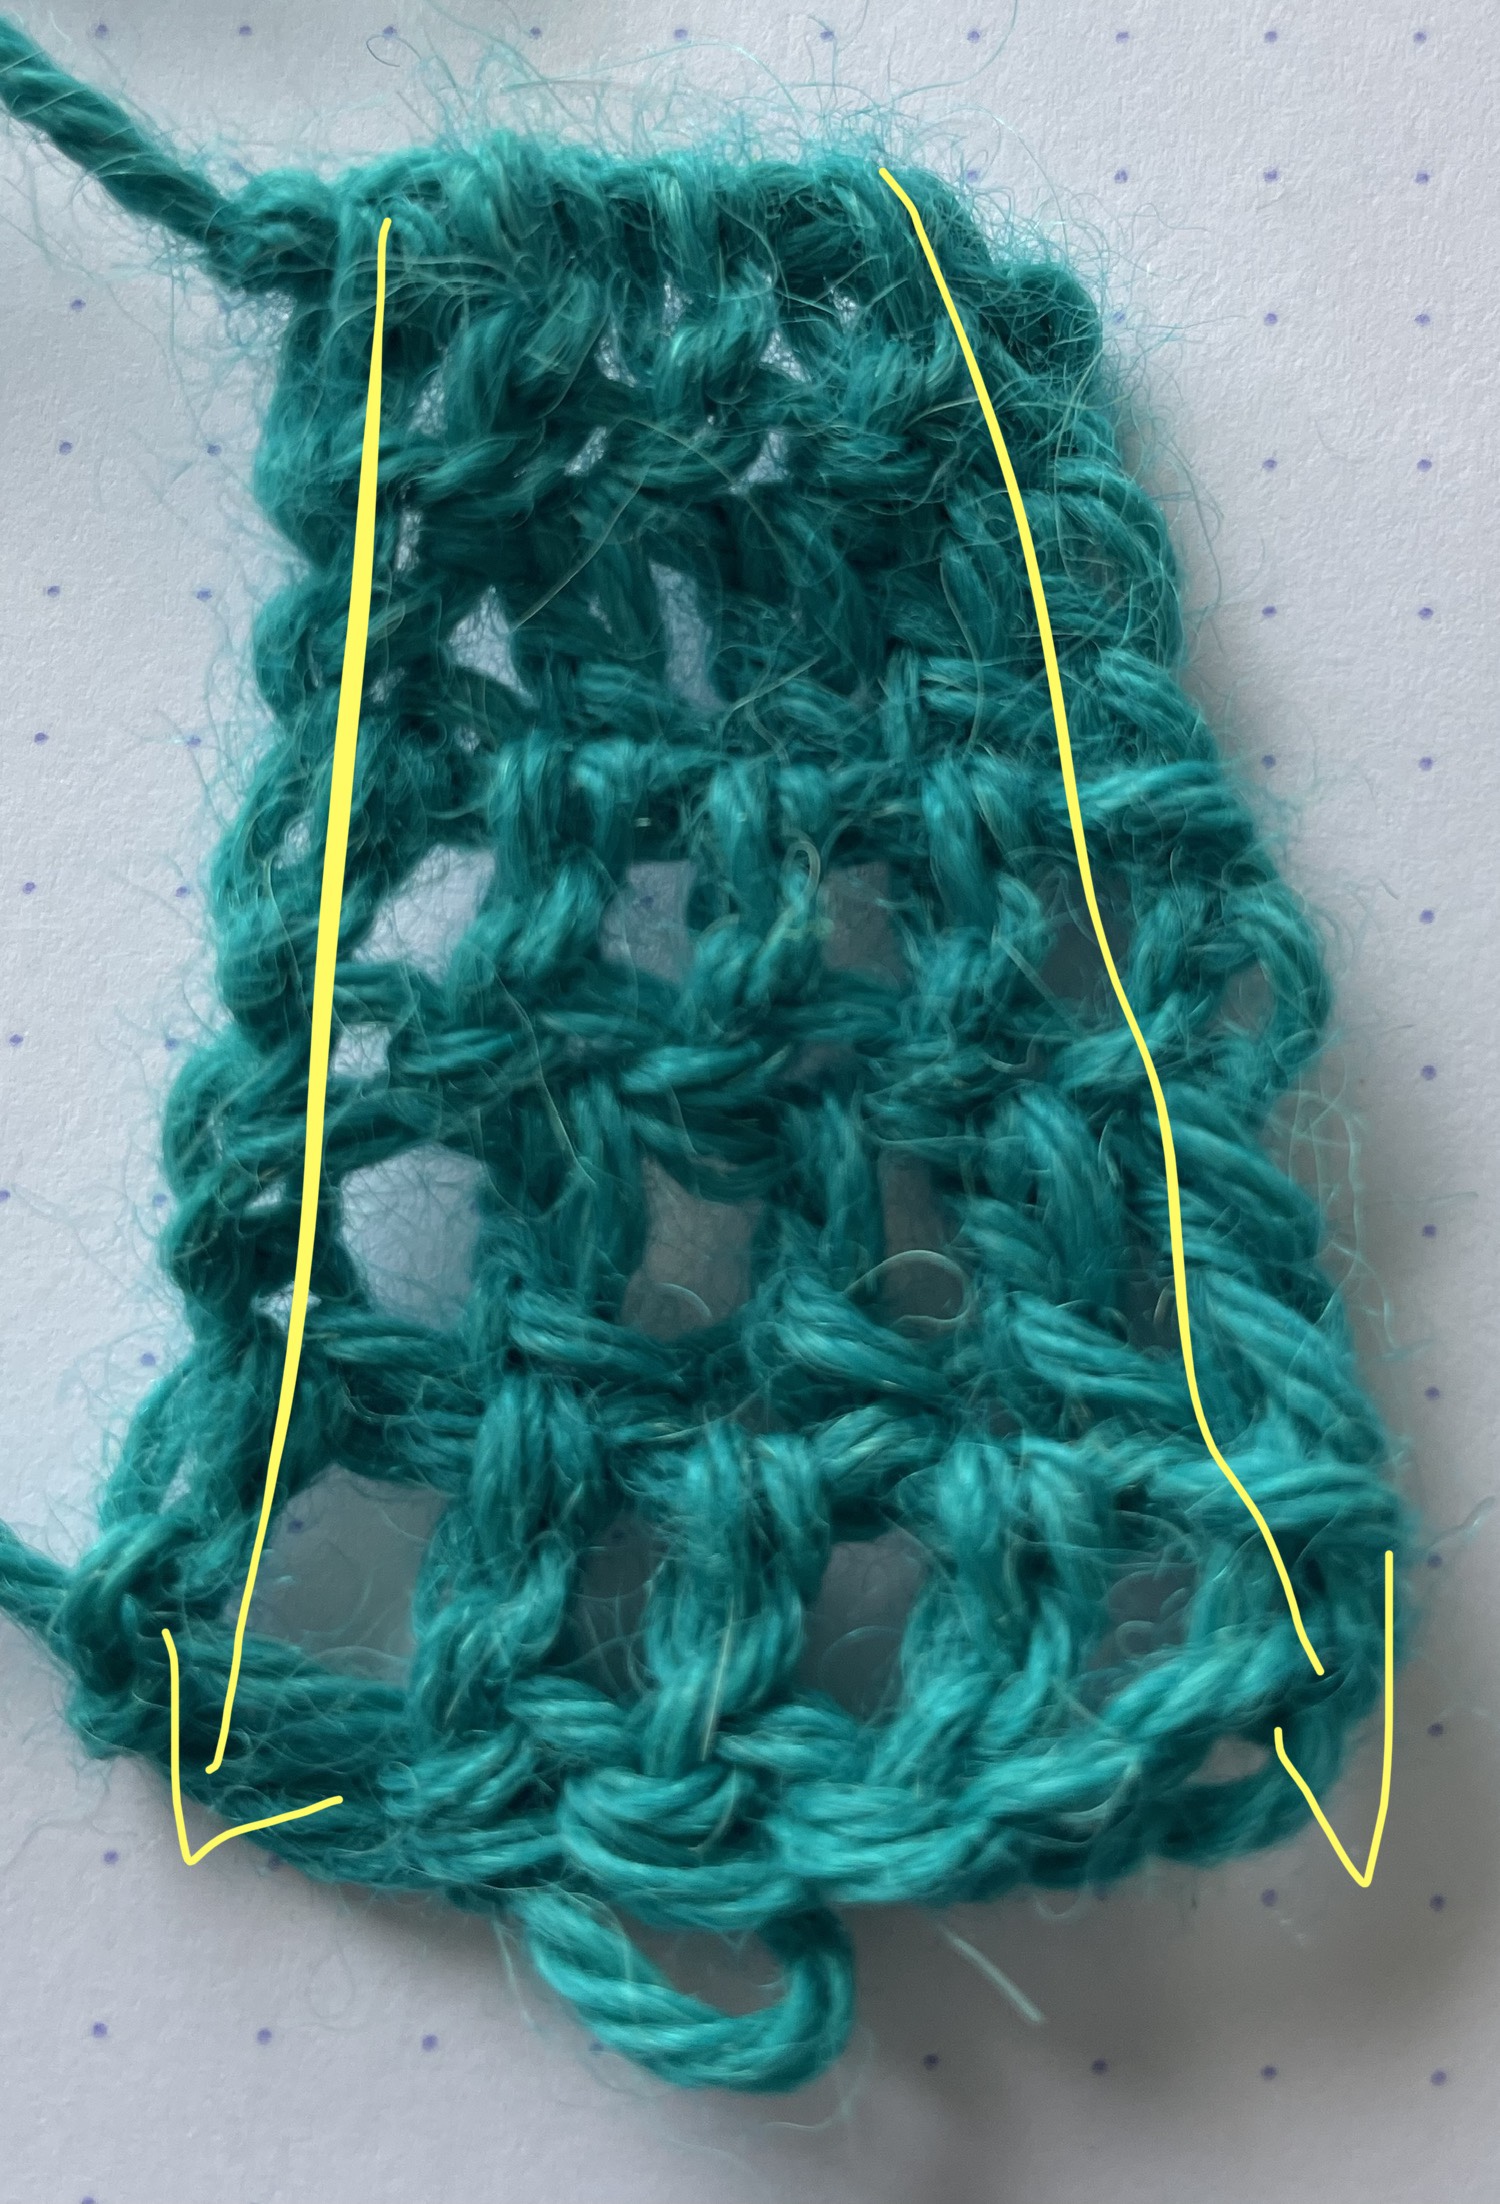
If you look at this example, what started out as a narrow strip, gets wider as it goes along.
This is because crochet fabric stretches. So if you want a square, starting with a crochet chain sets the maximum possible width of that edge right from the beginning. As you continue to crochet it gets wider and wider, and before you know it, you have a rhombus rather than a square.
Some people suggest using a larger hook to chain, and then move down but you still have an area that will not block the same as everything else.
The other thing is of course that when you are joining in the round, if there is a twist in your chain you need to start again, and it’s so frustrating to get to the last stitch on the second round and discover that you’ve actually messed it up and it’s twisted
But fear not!!!! I have the perfect solution for you!
It’s called…. drum roll please…..
Foundationless Crochet
Foundationless crochet is a method of creating your starting chain and your first row all at the same time! Not only does this save time, make it easier to count your stitches, make it easier to stop getting twists in your joins for working in the round, but…. it is stretchy!!!
I know that this post is called breaking chains, and it’s a bit… well it’s a bit off to then start with a chain but…. moving swiftly on…. For this tutorial I’ll be showing you how to do foundationless double crochet ((UK). You can of course apply this technique to other stitches, but this is the simplest. Start with 2 Chain!
Next insert hook into the first chain, yarn over (YO)and pull through a loop. You now have 2 loops on the hook.

In a normal double crochet, this is where you would yarn over again and pull through both loops finishing the stitch, but we are rebels here!! We are not going to do that. Instead yarn over and pull through one loop only. This is your crochet starting chain! Now yarn over again and pull through both loops, completing your chain + double crochet mash-up.
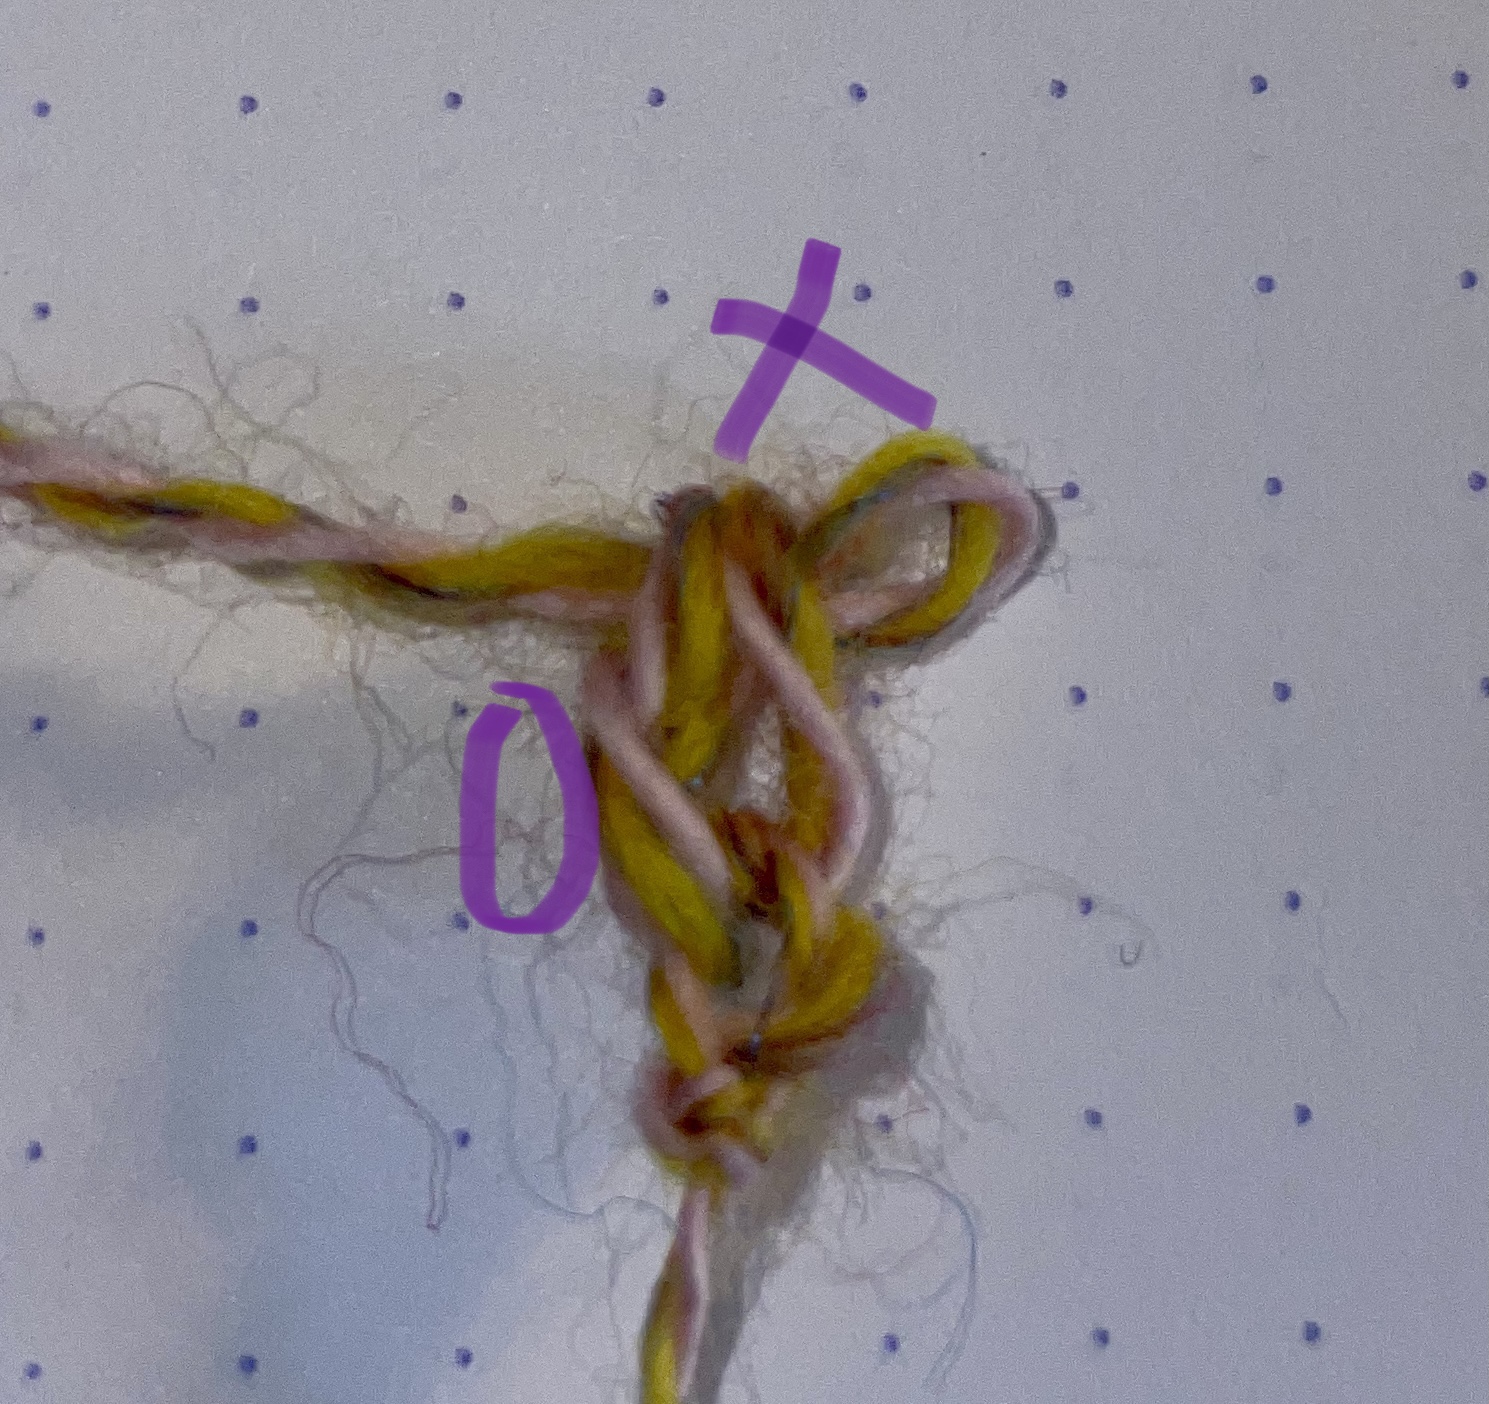
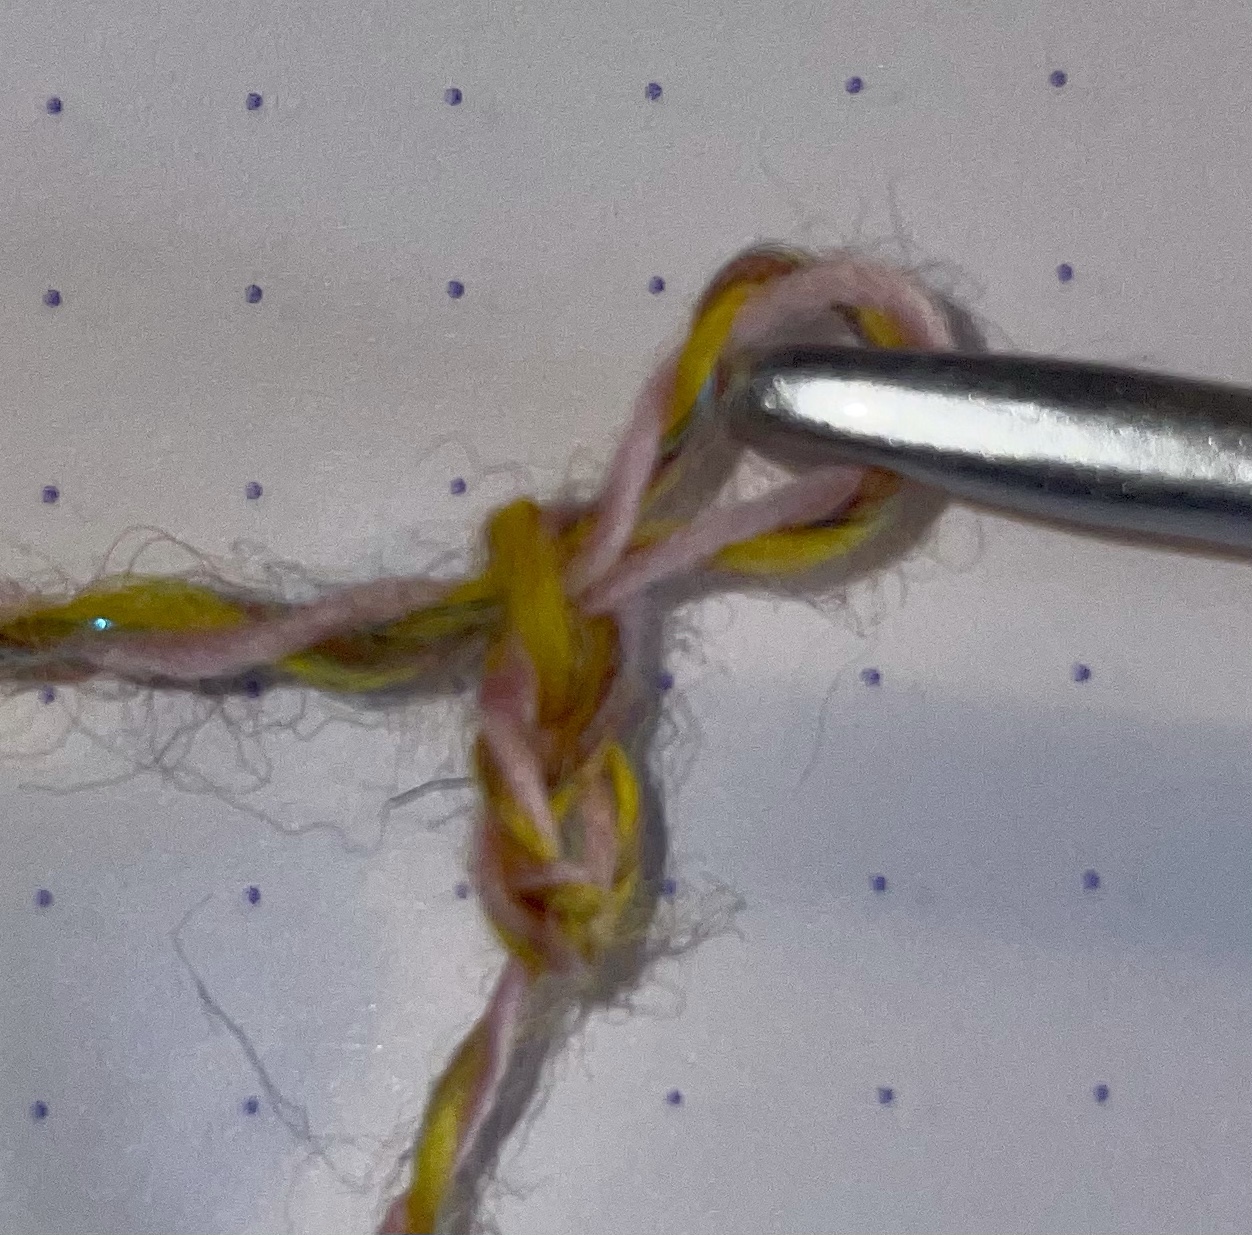
Don’t worry at all if at this stage you have what appears to be a very carefully crafted knot. On this picture the 0 is the fake chain, and the X is the double crochet. It helps to stretch it out a bit and get a good look.
Your next stitch is going to be worked into the fake chain marked with the 0, so insert your hook, yarn over, pull through a loop and repeat the steps above.
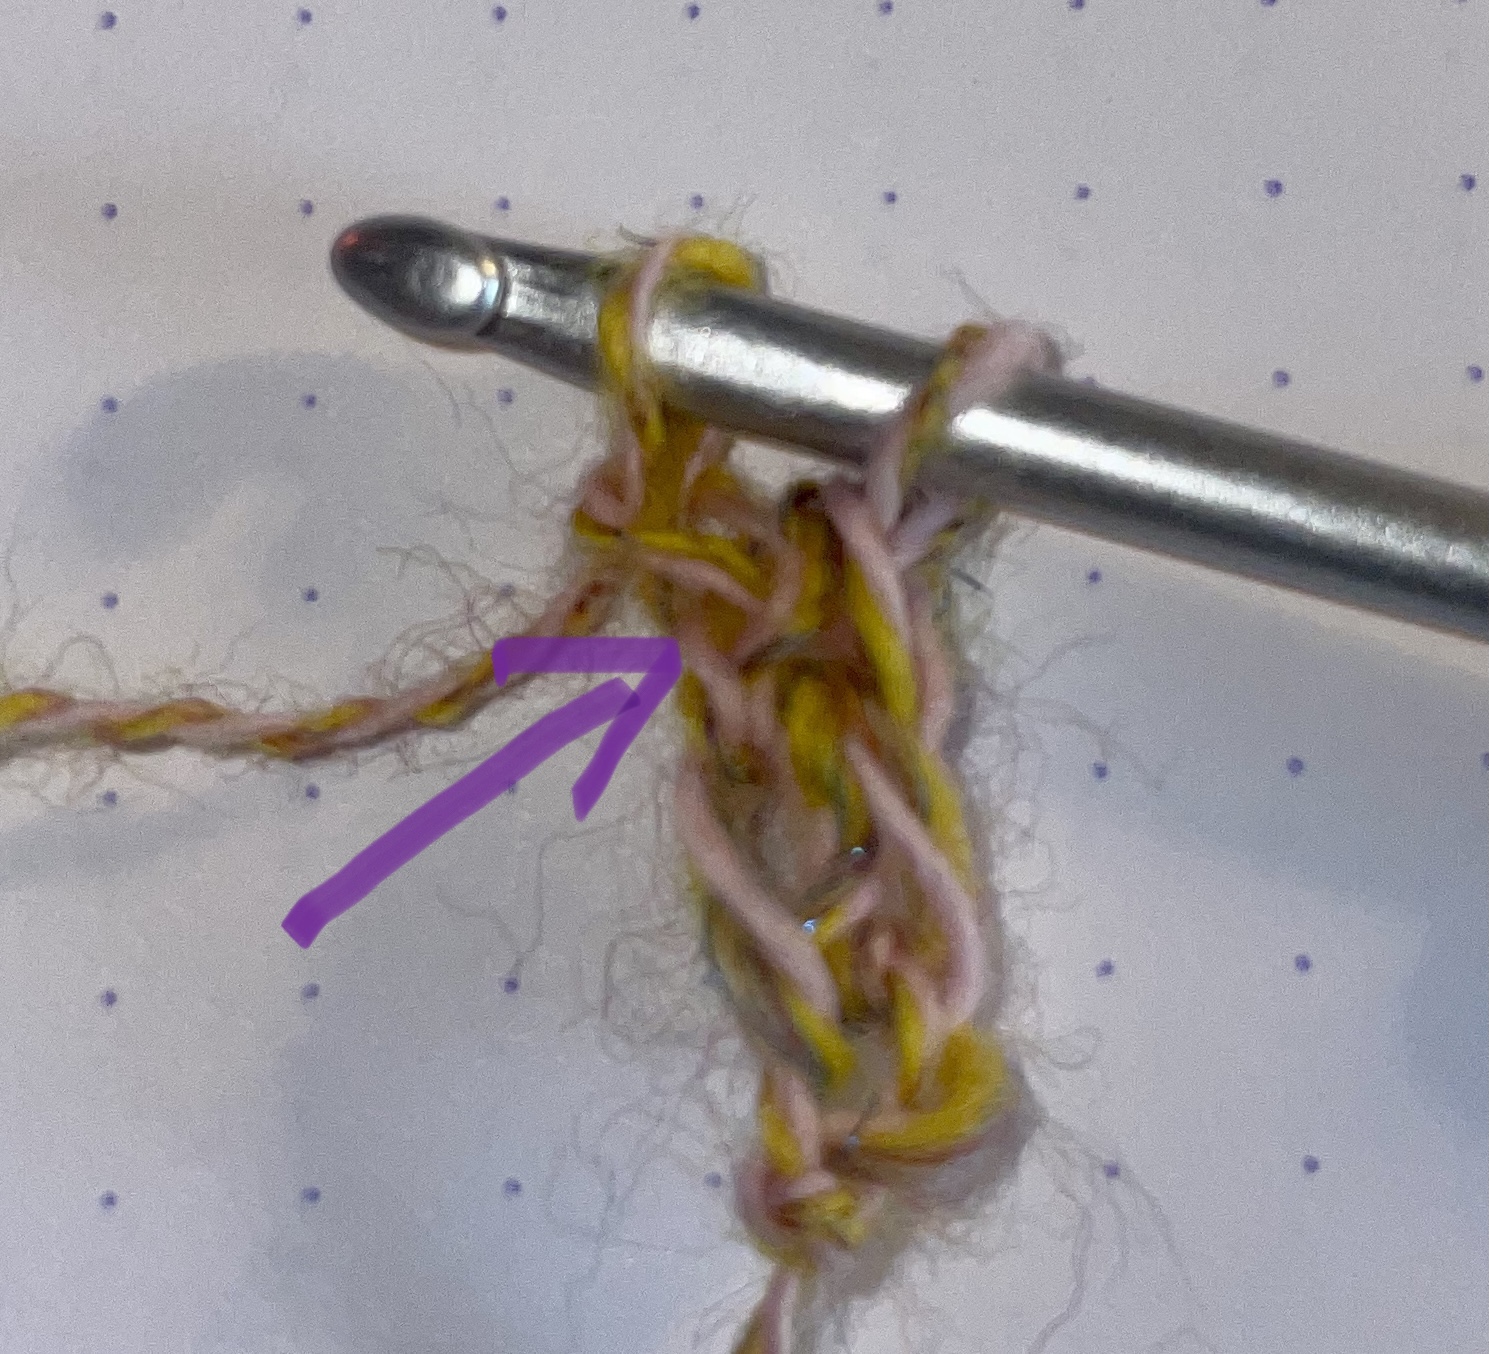
As you continue on, I find that it helps to pinch the fake chain after you’ve made it, then when you come to crochet into it again, you’re putting the hook in the right place. I remember the first few times I tried this, I sometimes put the hook into the wrong place, and hand on heart, it didn’t really matter, you can keep going if you don’t notice until later, it just won’t look as neat unless you’re edging the item.
And that my friends, is the very clever, and actually not horrifically complicated foundationless double crochet. To make it a treble or a HTC, simply complete your chain as per the above, and then do the rest of your stitch. With a Treble, yarn over first before inserting the hook into the previous fake chain, then do your fake chain before completing the stitch.
For working in the round, you can join a lot easier with this method, and leaving a longer tail gives you enough to close the small gap that’s left after joining.
Hope that this was clear and that you found it interesting!!
