
This is the first of my super simple tutorials looking at different crochet techniques covering some of the tips and tricks that I’ve learned over the years.
This tutorial is a very quick make that you could manage during your morning commute (unless of course you’re driving…. please don’t crochet and drive!) or any time that you find a spare 15-20 minutes.
This project will require a small amount of wool – less than 25 grams in DK weight, a reasonably thick elastic hair tie and a 4mm crochet hook.
There are three girls with long hair in my house. Each morning is a battle of the hair tie, who gets the one out the drawer, who gets stuck with the old one that we’ve found in desperation from under the couch. Inevitably whatever hair tie is put in everyone’s hair in the morning is out by the time the girls get home from school, and I have to admit that I’m terrible for just leaving them in pockets, next to the kettle or just randomly losing them alltogether.
One solution to get a little girl to take more care of their hair ties, and also to create matching accessories for an outfit is to crochet around the ordinary hair tie.
This can be as simple or as complicated as you want it to be, and once you’ve got the hang of it you will begin seeing lots of cords and things around the house that could also be crocheted around! Trust me, covering headphone cords and hair ties, wooden bangles etc, it’s addictive, so don’t say that I didn’t warn you.
Getting started.
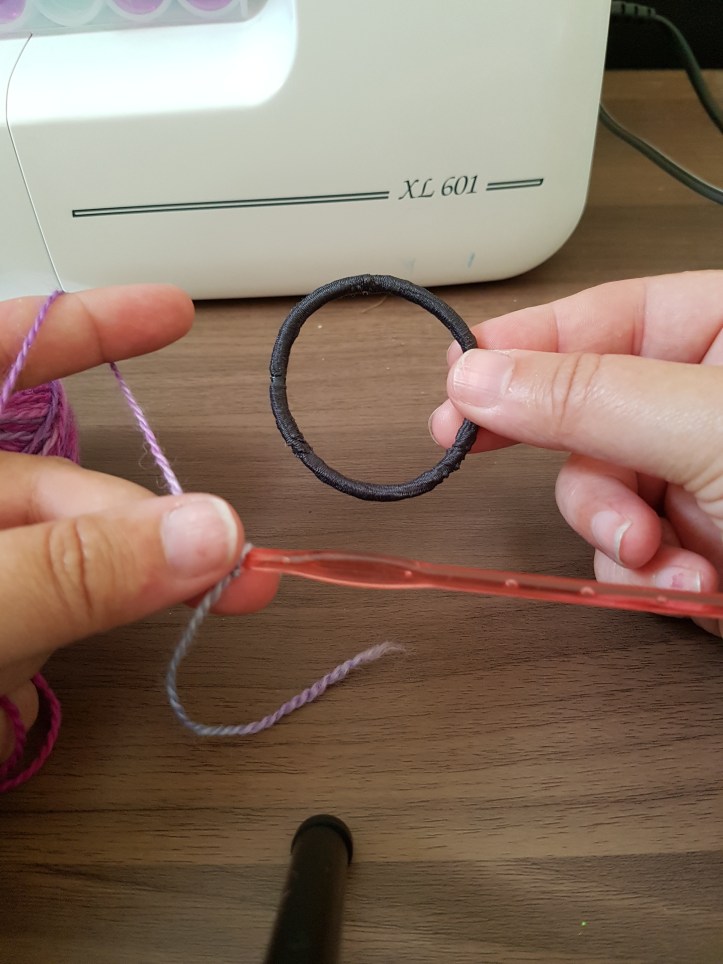
Select your hair tie carefully, as we all know, not all hair ties are created equal! I used a good quality thickish hair tie that didn’t contain any metal joins.
Stitches Used – UK Terminology
CH – Chain
SL Stitch – Slip Stitch
DC – Double Crochet
HTR – Half Treble Crochet
TR – Treble Crochet
Double crochet – no yarn over, insert hook in next stitch, draw up a loop and the yarn over and pull through both loops on the hook. This is the most basic stitch, often called Single Crochet in US terms.
Half Treble – Yarn over, insert hook into the next stitch, draw up a loop, yarn over and pull through all 3 loops on the hook
Treble Crochet – Yarn over, insert hook into the next stitch, draw up a loop, yarn over and pull through the first 2 loops on the hook, yearn over again and pull through the remaining two loops.
Picot – [Chain 3, insert hook into 2nd chain from hook and sl stitch to create picot point, chain 1]


Step 1 – covering the hair tie
Start by creating a slip knot, and hold the tail of the knot against the hair tie so that the loose end is covered over. Start by inserting the crochet hook into the circle, catch the wool from behind and pulling through a loop. When you complete the double crochet stitch, the stitch itself will be wrapped around the hair tie.


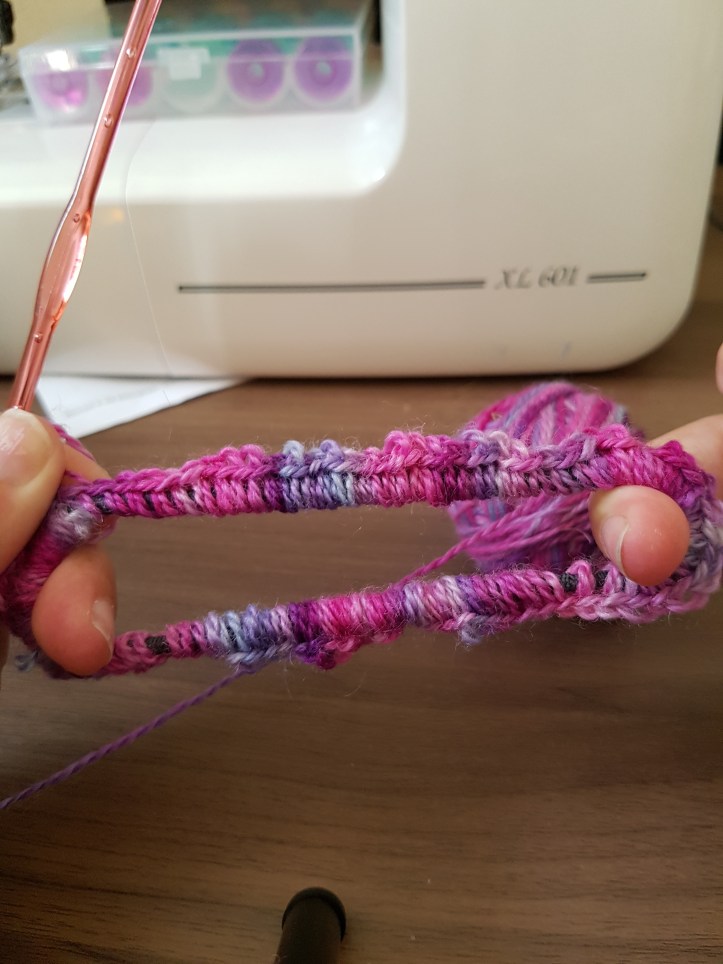
Once you have covered your hair tie, you will need to gently push back the stitches to expose more of the hair tie, remember a hair tie stretches, so you want to make sure that there are enough stitches that the hair tie doesn’t show through when stretched.


In the photo above you can see that although the hair tie looks completely covered, as soon as you stretch the band, the black underneath shows through.
Gently ease your completed stitches back from the top of the band and continue to put DCs around the band until the underlying colour no longer shows through when stretched.
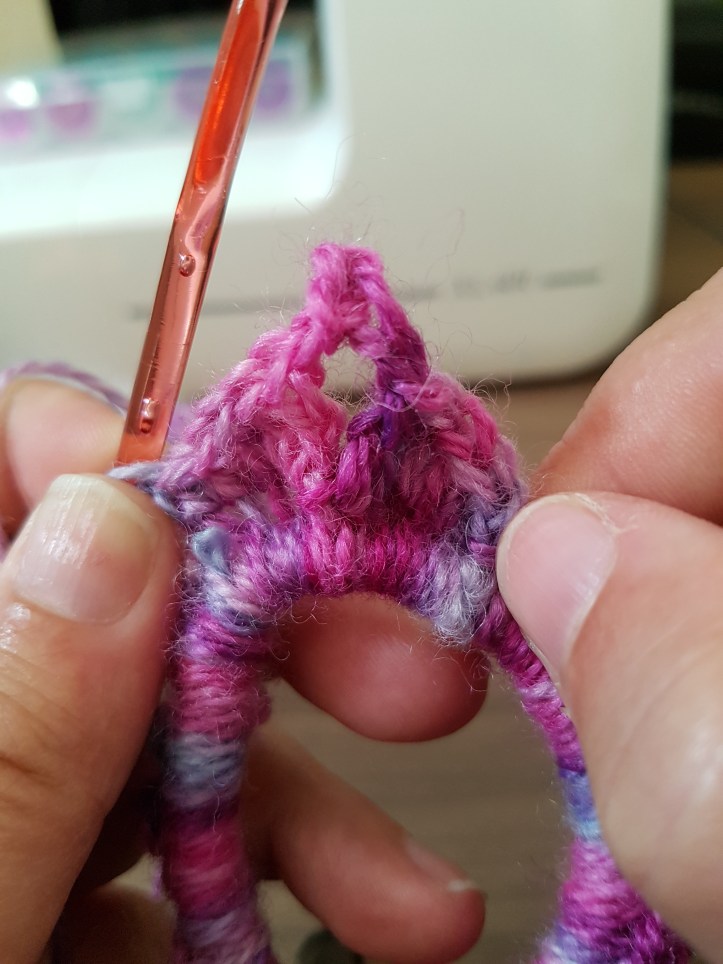
Step 2 – creating your petals
The number of stitches used to cover your hair tie will depend on the size of your hair tie to start with! This means that you won’t have a set number of stitches for petals. Complete the pattern as written, and if you are left with too small a gap to create a final petal, either squeeze another petal in or add in an extra DC to blend in.
Petals
The petals are really simple, and you just repeat this step until you’ve filled up the entire band.
Each petal consists of….
DC, 2 HTR, 3TR, Picot, 3TR, 2HTR, DC
– repeat around!
Once you have the hang of covering cords using DCs there are no limits to the way you can decorate them. Instead of picot metals you could simply put 3 TR in every DC, which would create a deep ruffle, or you could attatch twirly tails or little roses. You can have a different coloured tie every day!
I hope that you liked this tutorial. My next tutorial will look at the Foundationless crochet start!
